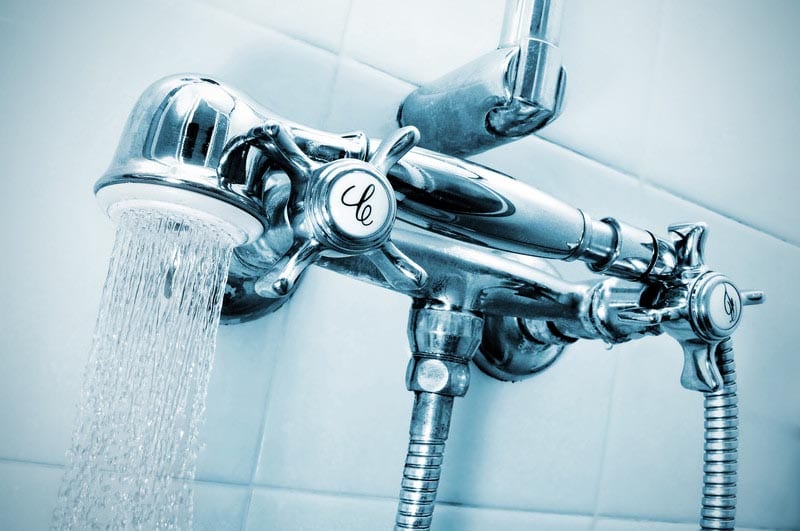
How to Replace a Damaged Shower Mixer Tap
Wednesday, August 12th, 2015
Your shower mixer tap is prone and vulnerable to wear & tear. With continuous usage every day by all members of your household or family, the internal components will wear down and lime scale will start to form within and around it. Of course, when you least expect it, just when your mother in law or Father Christmas is on their way, it will lock completely on you. Fortunately for you, it is not as daunting to replace a shower mixer tap as you may think. Like everything with the right tools and some sound plumbing skills and a great deal of patience, you will have it replaced in no time at all. If you feel you are ready to take it on here is some valuable DIY steps to completing it.

How to Replace a Shower Mixer Tap
1. Firstly turn the water supply off and all valve or fixtures associated with the shower taps. Sometimes you will find these in the hot-press on either side of the hot-press. You may have a booster pump which you will need to turn off also. The last thing you need is the water to start spraying all over the bathroom and turning the house into a swimming pool.
2. Then get a flathead screwdriver. Use it to pry the decorative cap off the tap, that’s found at the center of the shower handle. Be careful here as you do not wish to scratch it as it as you may be able to reuse some of it again. Once you have removed this cap, you will then discover a screw that secures the mixer handle to the wall.
3. This screw must also be removed. Get a Phillips screwdriver and use that to loosen the screw, be careful not to damage the threads as this would lead to a much bigger job. Make sure that you turn it counter clockwise to loosen it up. When you have done this, you should be able to pull the handle off easily. If it won’t budge at all, use some penetrating oil like WD40 or warm up the mixer handle with a hair dryer. You may also use a handle puller that’s available from most good plumbing suppliers.
4. If you have a two handle style shower mixer tap then carry out the same process on the other side also.
5. Afterward, get the flathead screwdriver again and slide it at the back of the escutcheons. These escutcheons are the ones that cover the hole where the mounts of the faucet handles are located at the back of the mixer, pry the escutcheons off the concrete wall gently so as not damage the tiles or wall.
6. When you’ve removed them, you’ll find the retaining nuts. Get a wrench and loosen the nuts up. Detach them afterward. Then, get a pair of slip-jaw pliers and grip the post of the mixer. Hold it tight and carefully pull the post out of the assembly.
7. Once done, get a new shower mixer tap post and insert it into the space where you removed the old one from. Then start to thread slowly the new retaining nut and use your adjustable wrench to tighten it. Again, do the same thing with the other handle if your shower mixer has two handles. Remember be very careful tightening up as you could over tighten and cause a leak.
8. Install the new escutcheons properly. Follow up with the new mixer handles. Make sure that you tighten these screws to secure them to their mounts correctly. Usually, you will use a Phillips head screwdriver for this task. Install the new decorative caps in place to cover the screws, they usually clip or snap on.
9. Lastly, turn on the water supply slowly just in case you have any leaks, Inspect for any leaks around the walls or pipework if all is ok turn water pressure up and turn back on the booster pump if one is fitted.
We hope that this blog has helped you in some way. If however you wish to leave the shower repairs to DeWAR emergency Dublin plumbers please give us a call and we would be happy to carry out any shower repairs, bathroom remodeling, blocked toilets, sinks and all general plumbing repairs for you call us 24 hours a day on 01 514 3300 to schedule a service for you.
Share this post:
on Facebook
Deprecated: File Theme without comments.php is
deprecated since version 3.0.0 with no alternative available. Please include a comments.php template in your theme. in
/var/www/vhosts/dewarplumbers.ie/httpdocs/wp-includes/functions.php on line
6085


